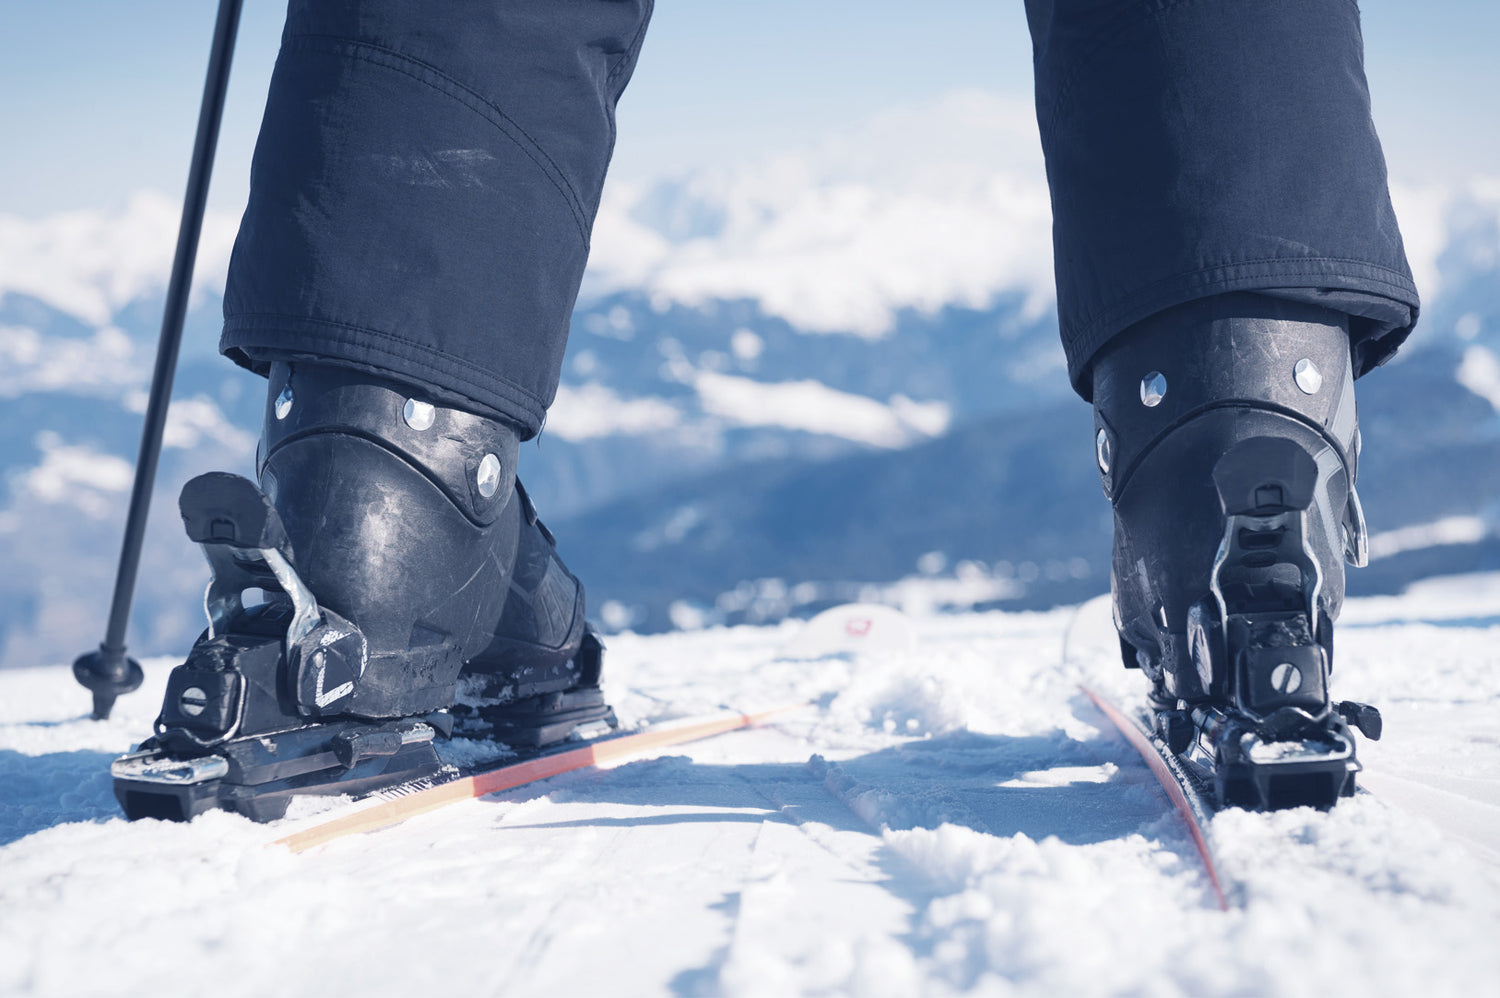
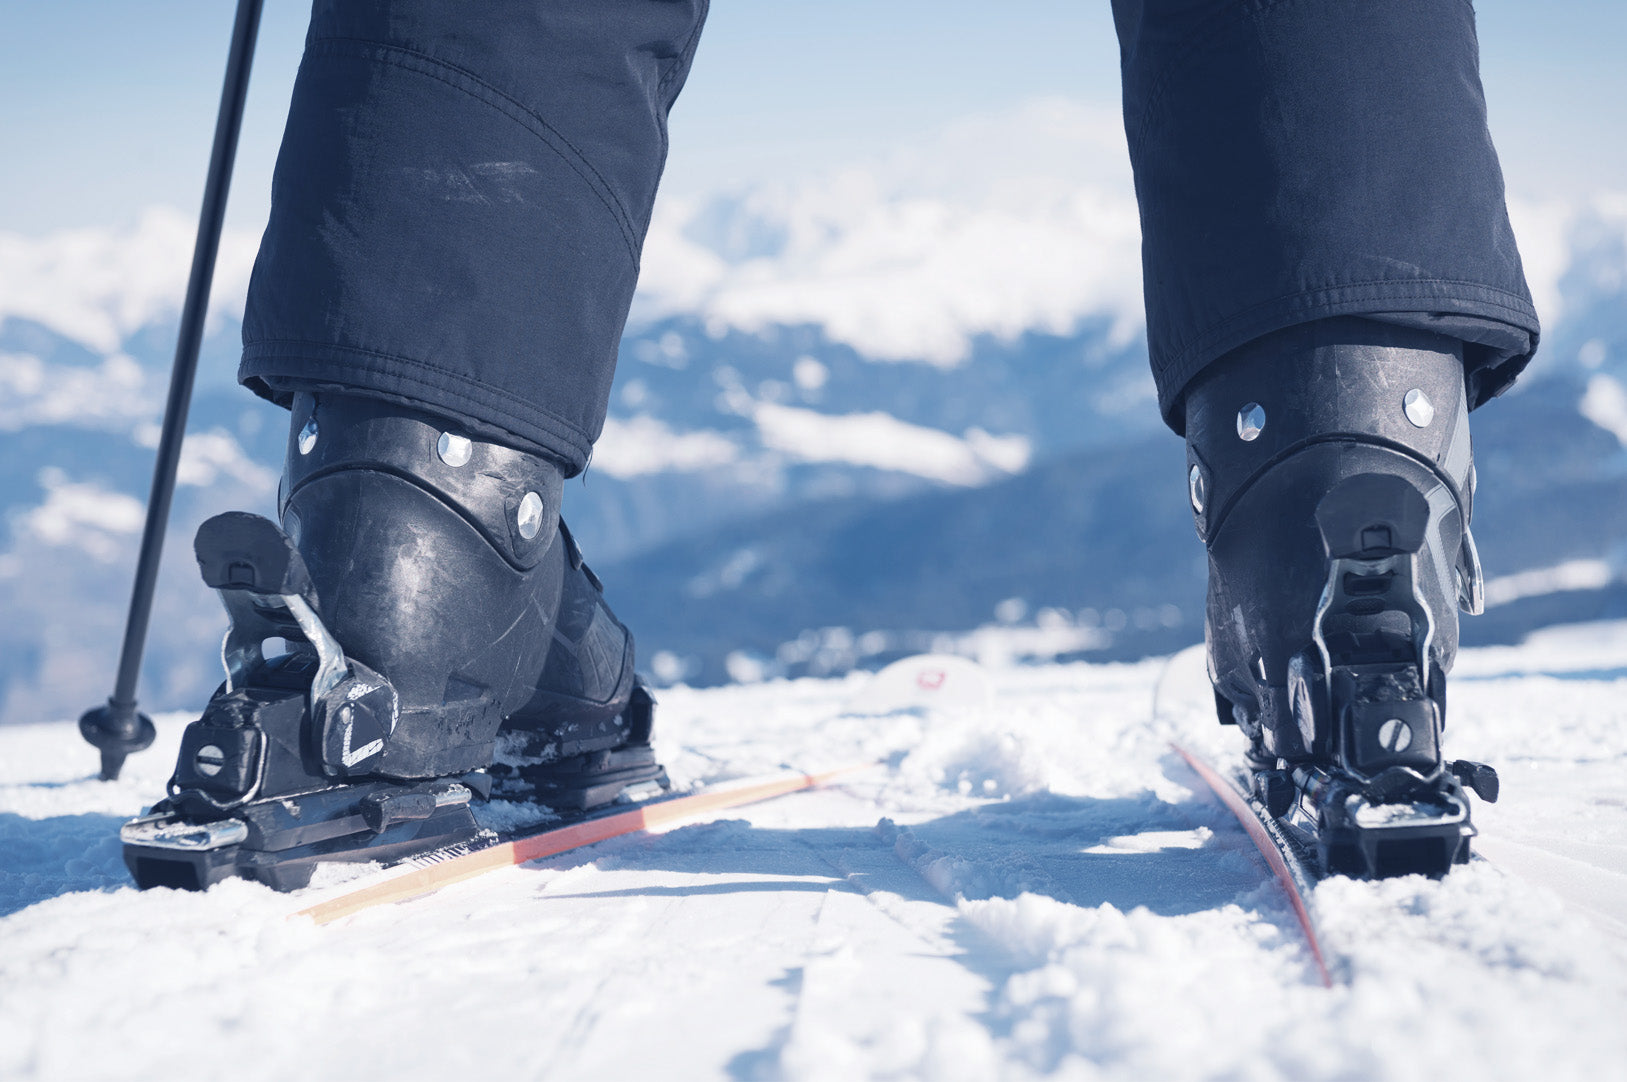
Even though you can often get the ski shop or the place where you rented your skis to adjust the bindings on the skis to your boots, it's a really good idea to be able to do it yourself too! Both to ensure that your bindings are set correctly, so you don't get injured if you fall, or if they need to be adjusted out on the slopes.
That's why we've created a simple and easy guide, so you can quickly and easily adjust your ski bindings in no time.
4 simple steps to adjust the bindings
2. Adjust the length of the bindings
3. Find your correct DIN value
4. Set the DIN value on the bindings
1. Find your boot length
It's incredibly easy to find your boot length for adjusting bindings, you just need to know where to look.
Your boots have 2 lengths, which you can find in 3 places on the boot. You can find the length of your boots on the back, under the forefoot, and on the heel. In this example, you can see 3 sizes, 29.5cm, 335mm, and 102mm. Not all boots will show all these 3 different sizes.
The 29.5 cm is the internal size, and it's the one you need to determine if the boot fits your foot. This number should not be used to adjust the bindings.
The 335 mm is the length of the sole of the boot, and this is the one you need to adjust the bindings.
The 102 mm is the width of the inner boot and should also not be used to adjust the bindings.

2. Adjust the length of the bindings
Now that we know the boots are 335 mm, we can adjust the bindings on the skis to this size. On most bindings, there is a rail that the bindings run on, so you can adjust the bindings to all kinds of boots. On the rail, there is a series of numbers that show how the bindings are set.
To adjust the length of the bindings, there is a small flap on the front and back binding that you can pull up, allowing you to adjust the length of the bindings.
The length of the bindings is shown by a series of different intervals, such as 315-322, as you can see the binding is set to in the right picture below. Here you need to move the front and back binding individually to adjust it to the correct interval. You know which interval the bindings are set to by looking at where the binding cuts the interval.

Below you can see that the binding is moved to the selected interval, 331 mm to 338 mm, which is the desired length for our 335 mm boots. It's important that the small flap goes back into place, so you know the binding is locked in the correct position. This is done for both bindings.
Once you have adjusted the bindings, you can put your boot in the bindings and check that everything looks fine and the boot is properly secured.

3. Find your correct DIN value (Weight on the bindings)
Now that the boots are secured in the bindings, it's time to find the correct DIN value for your skiing. The DIN value shows how tightly the bindings are fastened. This means a higher DIN value requires more force before the boots pop out of the bindings. If your DIN value is too low, you risk the boots falling out in a sharp turn, and with a too high DIN value, you risk the boots not coming out at all if you have a nasty fall. Therefore, it's incredibly important that your DIN value matches your skiing and weight correctly.
The DIN value is shown by a small table at the top and bottom of the bindings, as shown in the picture below. Here you see a table, which often ranges from 3-12 depending on the binding type, where 3 is the lowest and 12 is the highest. As a rule of thumb, a DIN value of 8 corresponds to a person weighing 80 kg. Here, the DIN value should then be adjusted up or down depending on how fast you ski. If you weigh 80 kg and ski cautiously, your DIN value should be lower as you won't fall with as much force as a person who goes full speed downhill.

The easiest and most accurate way to calculate your own DIN value is by using this chart below. Here are 3 steps that show your progress in finding your correct DIN value, so you avoid nasty falls!
Step 1: Find your weight/height on the chart. If your weight and height do not match horizontally, choose the value that is lowest in the chart.
Step 2: Go horizontally from your weight/height and find the DIN value that matches your boot length in mm.
Step 3: Add your level to the DIN value. If you are a Beginner/skis cautiously, keep your current DIN value. If you are Intermediate/skis at a good speed, go one field vertically down from your current DIN value to find your precise DIN value. Finally, if you are a Master/skis at very high speed, go two fields vertically down from your current DIN value.

4. Set the DIN value on the bindings
Once you have calculated your DIN value, you are ready for the final step to get your ski bindings 100% correctly adjusted to you and your boots.
When setting the DIN value, the bindings should be tensioned, which is easiest done by inserting your boots into the bindings. Once the boots are inserted, you can now find a large star or flathead screwdriver (flat screwdriver) and set the DIN value to the desired choice.
If you experience on the ski trip that you either think the bindings release too quickly or too early, you can advantageously adjust the DIN value yourself. Here I would recommend that you change the value by a maximum of 0.5 at a time, so you don't end up making the bindings too tight or too loose for that matter.
If you haven't yet found the right skis for you, you can see our large selection of used skis right here!


