Are you on the hunt for your perhaps first snowboard and need help with mounting and adjusting your bindings? THEN this is the perfect guide for you! How your snowboard bindings should be mounted is ultimately a matter of personal preference, as everyone is different. We have gathered the general guidelines on how they should be mounted correctly, and as you spend more time on your board, you can adjust according to what feels right for you.
If you're still unsure about which board to choose, you can read our Snowboard guide here.
These steps you need to go through to mount and adjust your snowboard bindings yourself:
1. Correct size bindings
2. Your preferred stance
3. Distance between the bindings
4. Placement of the bindings
5. Adjustment of the bindings
1. Correct size bindings
It's important that your board matches the size of your bindings so that when you turn, your toes don't hit the snow. Boots can extend 2.5 cm over the board, which is completely normal. At our store, all our boards match the size of our bindings!
At Secondskis.com, we have three different sizes of bindings; Small, Medium & Large.
Small: Fits sizes 23-26.5 cm, and EU shoe sizes 37 to 41/42.
Medium: Fits sizes 26.5-29.5 cm, and EU shoe sizes 41 to 44/45.
Large: Fits sizes 29.5-33 cm, and EU shoe sizes 45 and above.
See all our snowboard bindings here!
2. Your preferred stance
When talking about your preferred stance, it refers to whether you stand with your left or right foot forward. In "snowboarder language," this is called Regular or Goofy. Regular is when you have your left foot forward, which is also the most common, and Goofy is with the right foot forward.
How do I find my stance?
When finding your preferred stance, it is NOT about which foot you are better at kicking a football with. You find out by pretending to slide across a floor in socks. How would you stand to be most stable? Or back in school when you did tug-of-war, how did you stand then?
This is your preferred position, as it is about standing in the most stable way on your snowboard.

3. Distance between the bindings
This distance affects how you stand on the board and what feels natural for you. It varies how many adjustment holes a snowboard has. Many of the boards we sell at Secondskis.com have a fixed distance between bindings, while on some snowboards, you can adjust this yourself. If in doubt about the distance, some snowboards often have a standard length marked on the board. It's a good idea to start with this length, and then you can always adjust later when you know exactly how you want to stand.
See our selection of snowboards here.
How do I find the distance between my bindings?
1. Start by measuring the length from your kneecap to your heel.
2. Then place the measuring tape on your snowboard and mark the nearest holes so you know where to screw the washers in.
3. It's important that the length to the tip of the board is longer than the length from the bottom of the board.
4. When mounting the washers on your board, it's important to do it by hand, meaning with a screwdriver and not a drill, and never use Loctite or other sealants. This could damage the thread and ultimately cost you dearly.

4. Placement of the bindings
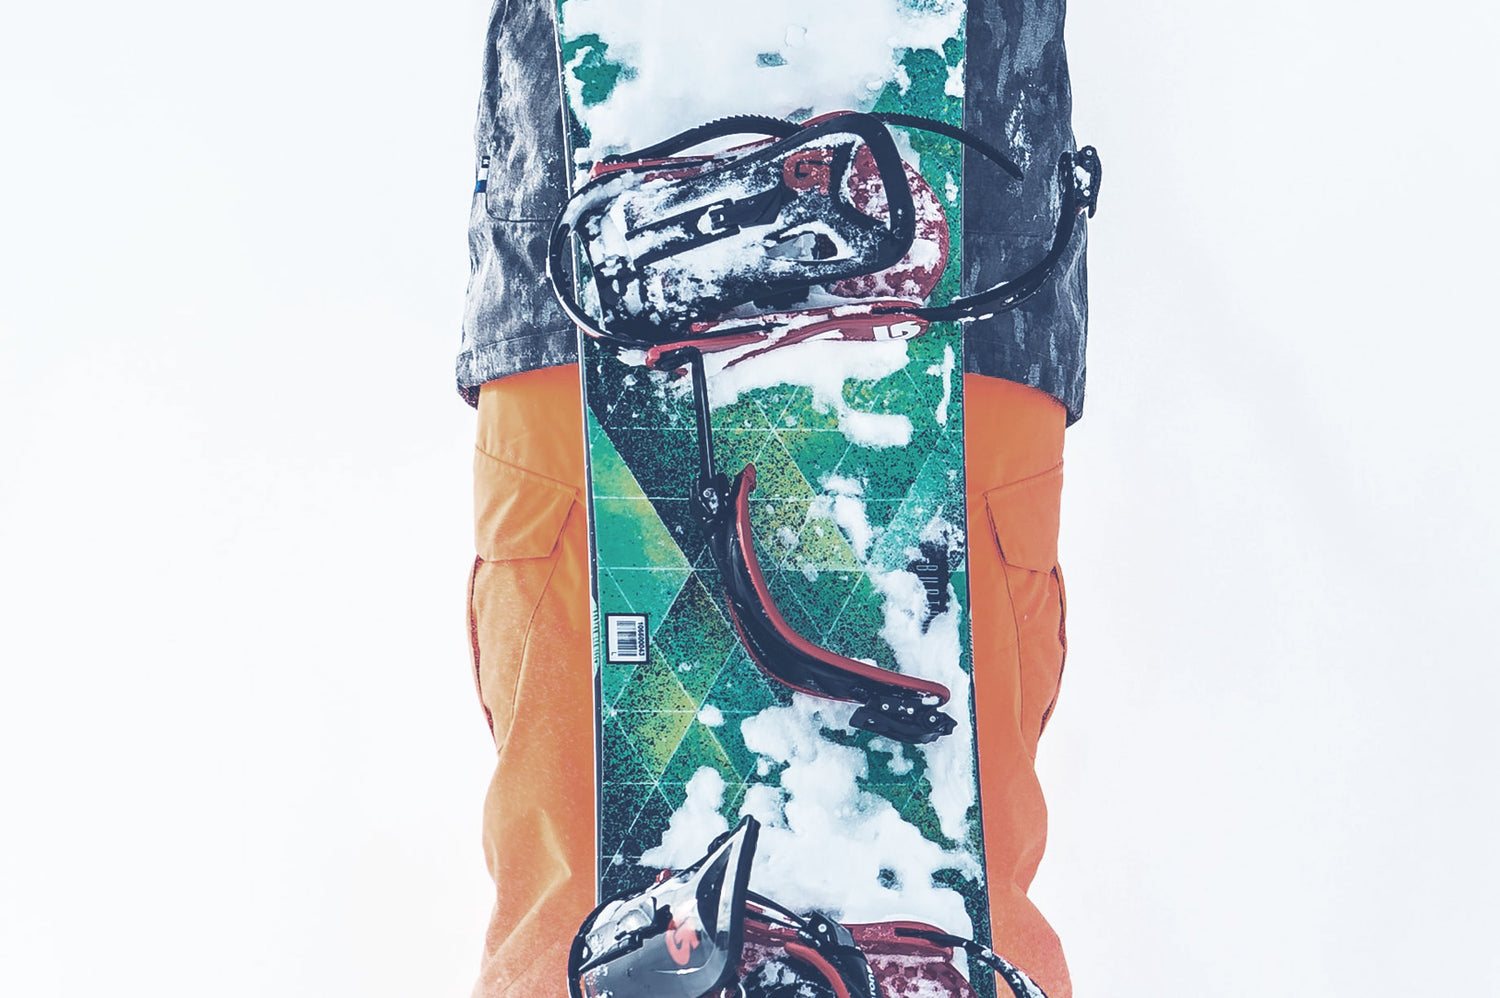
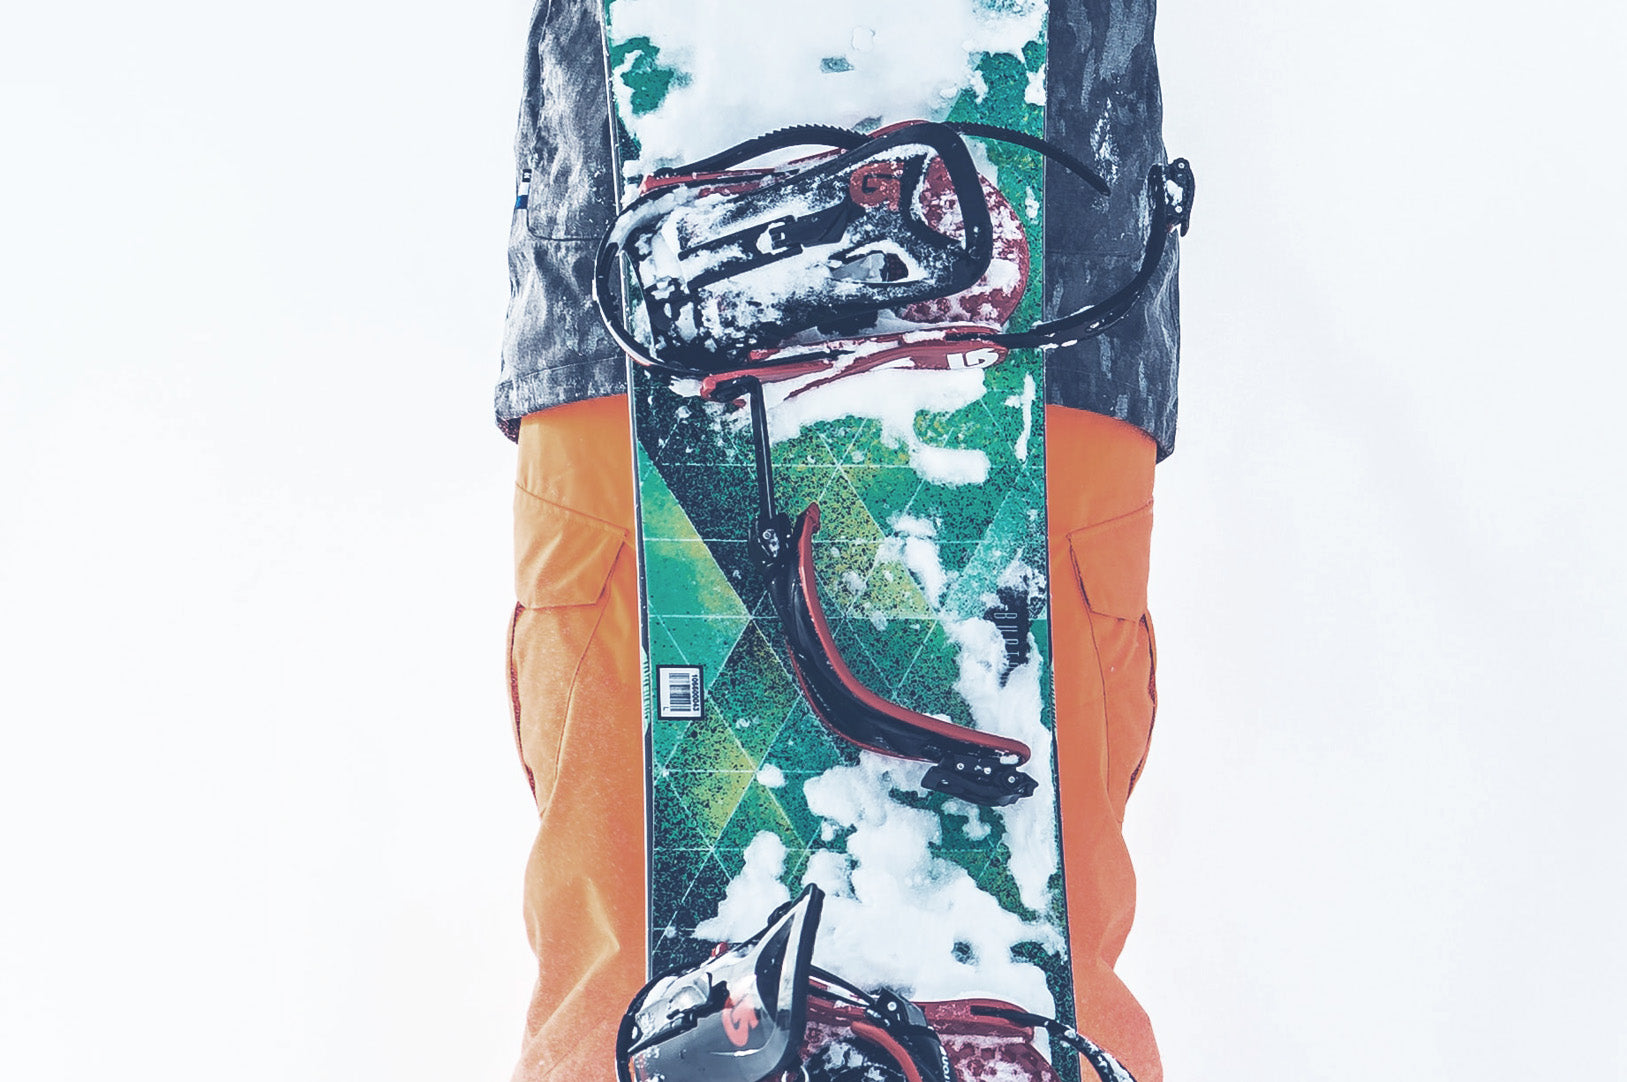
Now you have found the right size bindings, figured out your best stance, and determined the distance between the bindings. Now it's time to mount the bindings in the correct position. See our image guide below to see how easy the bindings are to apply and adjust on the snowboard.

What angle should my bindings be set to?
The short answer is, "It's a matter of taste, and only you know it." But if you haven't tried snowboarding before, you don't know it. It requires many hours on the board and experimenting in all sorts of different ways!
However, we have some guidelines for how to get a good starting position, and then you can experiment. The most common is what's called a "Duckstance," where your feet point in opposite directions. Typically, it's +15 degrees and -15 degrees. The plus 15 degrees is on your front foot, and the minus 15 degrees is on the back foot. Start with this position and play around to find what you think suits you best.

It's a common mistake to mount bindings with the buckles facing each other. It's important that the buckles face outwards and are on the outside of your snowboard boots. See the image below.

5. Adjustment of the bindings
Now comes the last point in this guide. Ensuring your snowboard boots fit well into the bindings. There are a few different elements you can adjust here.
First, you can adjust so that your strap fits well and tightly around your boots. There should be about 4-5 notches left when your boots are fully fastened to the bindings.

Secondly, you can adjust your "Highback," which supports your heel and the back of your leg. Here you can adjust the angle of how much you want to lean forward. The more angle there is towards the leg, the easier it is to turn backward, i.e., towards your heel side.
Haven't found snowboard boots yet? Then see our selection here.

Congratulations
You can now adjust your bindings to your snowboard yourself. The more you snowboard, the easier it will be for you to adjust them 100% correctly. First, try setting the bindings according to this guide, and then adjust various things until you find the perfect position for you!
See all our Snowboard equipment here.

